タイムライン
概要
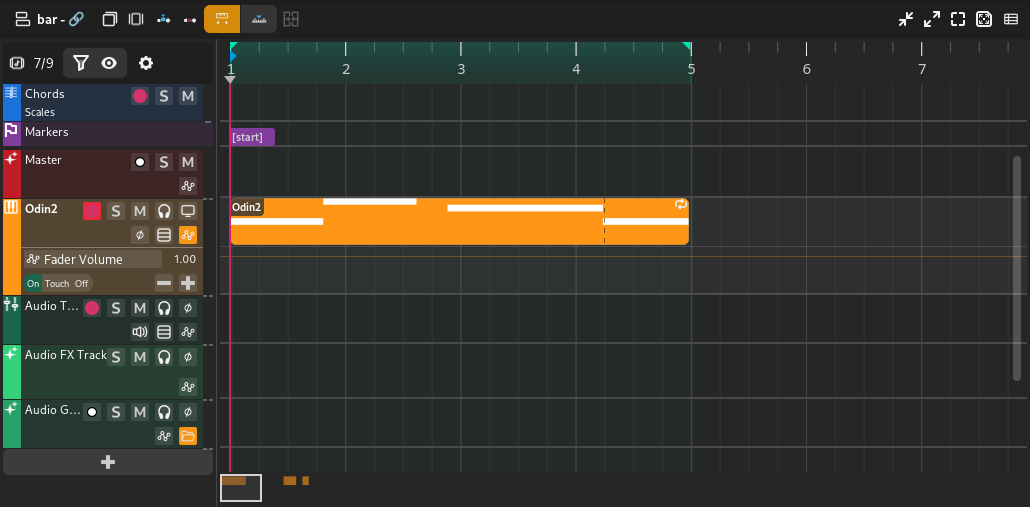
Editing in the timeline is the most common workflow inside Zrythm. The timeline section consists of the tracklist on the left and the ruler/arranger on the right, along with a timeline-specific toolbar at the top.
ミニマップ
The timeline minimap is a little box that represents the current visible area of the timeline. It can be moved around and resized to change the visible area.

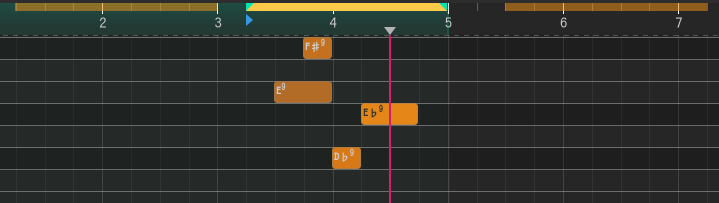
ルーラー
ルーラーは主にループと再生を制御するために使用されます。

ルーラーは、現在のズームレベルに応じて多かれ少なかれ情報を表示します。また、 ループポイント で説明した以下のマーカーや指標も表示されます。
- キューポイント
青色の右向き矢印で表示されます。
- 再生ヘッドの位置
灰色の下向きの矢印で表示されます。
- ループポイント
Shown as 2 green arrows, and the area between them is shown in bright green if loop is enabled, or grey if disabled. Can be dragged to reposition.
Tip
Looping can be enabled/disabled using the loop button in the transport controls.
Clicking and dragging on empty space in the bottom half of the ruler will allow you to reposition the playhead.
Tip
You can Control-click and drag the loop region to move it.
キューポイントを設定する
ルーラーの内側をダブルクリックするとキューポイントを設定します。これは再生停止時に戻るときに使用します。
Range Selection
Clicking and dragging in the top half of the ruler will create a range selection. If an existing range exists, you can click an drag it to move it.
Range selection
アレンジャー
The timeline arranger is the main area where the song is composed. It consists of a collection of events, such as regions, positioned against time. Some events (such as regions) will open separate windows for further editing when clicked.
タイムラインは上部に固定された上のタイムラインと、その下にスクロール可能なタイムラインに分割されます。これにより、常に一番上に表示するトラックをピン留めできます。
アレンジャー オブジェクト
タイムライン内に次のアレンジャー オブジェクトを配置できます。
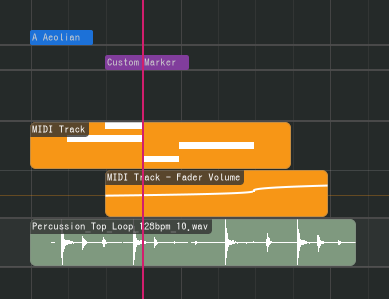
リージョン
Regions (or clips) are containers for events or data (such as MIDI notes and audio clips - see below) that can be edited in an editor. Regions can be repeated, like below.
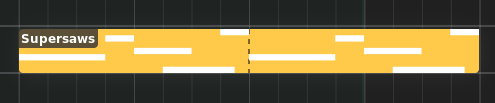
リージョン
次の種類のリージョンがあります。
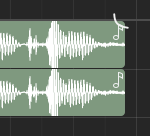
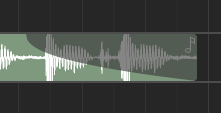
オーディオリージョン
オーディオリージョンには、オーディオファイルのオーディオデータが含まれています。
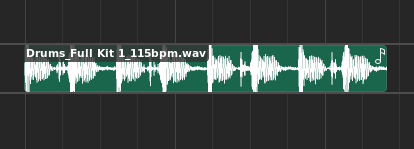
Audio region
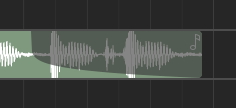
オーディオリージョンは、トラックレーンに属し、オーディオトラック内に表示されます。
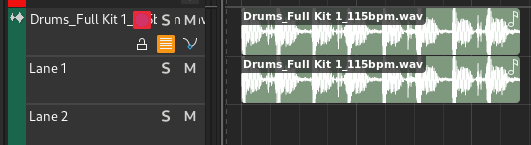
Audio track with audio region
Double-clicking an audio region will bring up the audio editor.
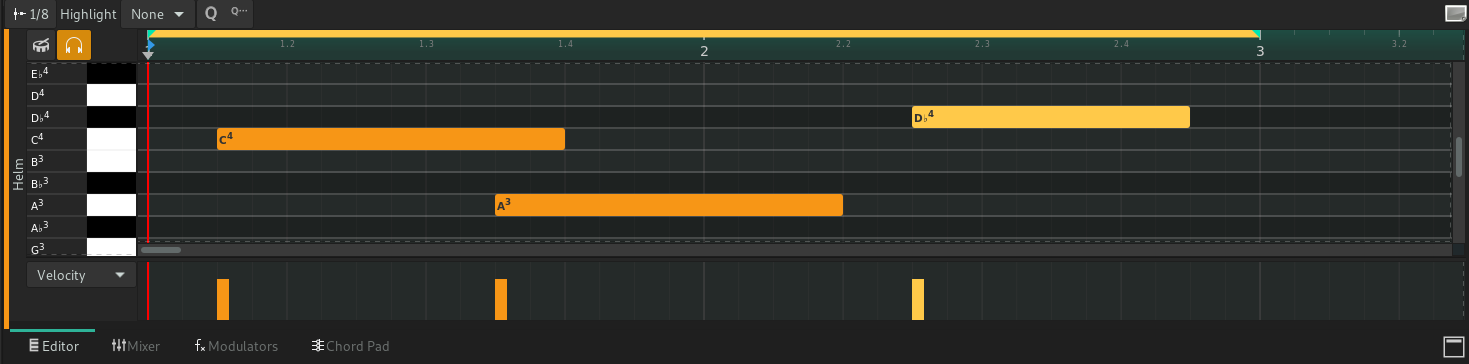
MIDIリージョン
MIDI リージョンには MIDI ノートが含まれています。
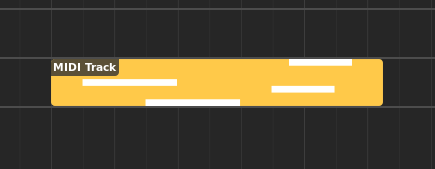
MIDI リージョン
MIDIリージョンは、トラックレーンに属し、MIDIトラックやインストゥルメントトラックの中に表示されます。
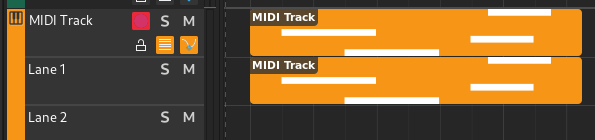
MIDI track with MIDI region
Double-clicking a MIDI region will bring up the piano roll.
オートメーションリージョン
オートメーション・リージョンには、オートメーション・イベントが含まれます。
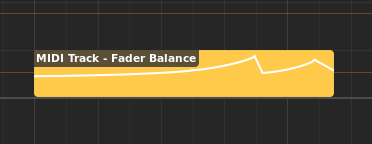
Automation region
オートメーションリージョンはオートメーションレーン内に表示されます。
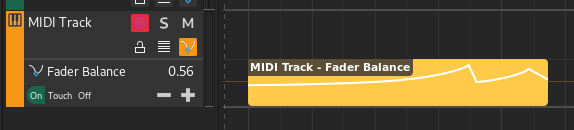
Automation lane with automation region
Double-clicking an automation region will bring up the automation editor.
コードリージョン
コード・リージョンは、コードのシーケンスを含みます。

Chord region
コード リージョンは、コード トラック内に表示されます。

Chord track with chord region
Double-clicking a chord region will bring up the chord editor.
マーカー
マーカーは、 コーラス や イントロ のような、曲の中の論理的なセクションの始まりをマークするために使われます。

マーカー
マーカーはマーカー トラック内に表示されます。

Marker track with marker
曲の書き出しに使用され、削除できない曲の開始と終了を示す 2 つの特殊なマーカーがあります。
スケール(音階)
スケール(音階)は、特定の音階を使用したセクションの開始を示すために使用されます。

Scale
スケールはコード トラック内に表示されます。

Chord track with scale
リージョンの編集
次の操作はリージョンに適用されます。
名前の変更
リージョンを選択して F2 を押すと、リージョンの名前を変更できます。
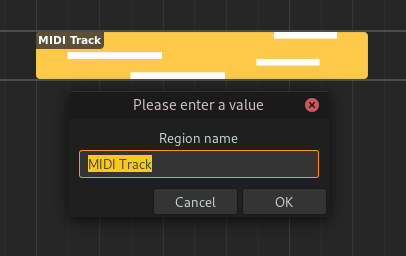
リージョン名の変更
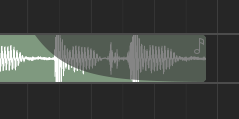
フェードの調整
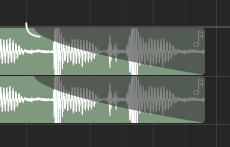
Audio regions can have fades. Fades are gradual increases or decreases in the level of the audio signal, and their positions can be adjusted by clicking and dragging the top left/right corners of the region.
フェードアウトポイントの調整 (クリック&ドラッグ)
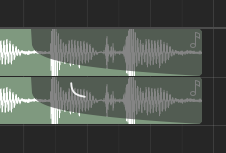
フェードアウトポイントの調整 (ドロップ)
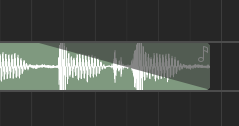
Clicking and dragging the grey part up or down will adjust the curviness of the fade.
曲率の調整
The type of fade algorithm used can also be changed by right-clicking on the fade and selecting .
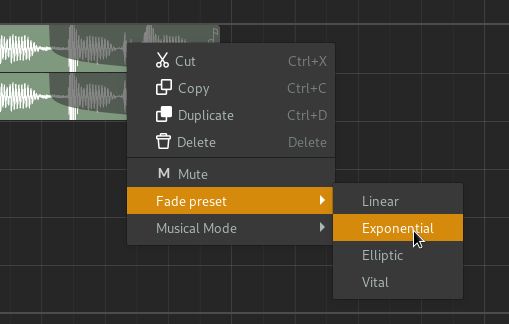
フェードのコンテキストメニュー
Fade Types
フェードのアルゴリズムには、以下のような種類があります。
注釈
All audio regions have some additional, built-in fade in and fade out that cannot be disabled. This is used to avoid clipping and should be unnoticable.
Editing Region Contents
Displaying Region Contents
When regions are selected in the timeline, their contents will be shown inside the Editor tab in the 下部パネル. Although there are some common elements shared amongst each type of editor, the editor section will differ depending on the type of region selected.
エディタールーラー
The editor ruler is similar to the timeline ruler.

Editor ruler
The ruler will display more or less information depending on the current zoom level. It will also display the following indicators.
Editor Ruler Indicators
- Song Markers
Markers created in the Marker track will be displayed here as read-only.
- クリップの開始点
Controls the position where the clip will start playback from. Displayed as a red, right-pointing arrow.
- 再生ヘッド
Current position of the playhead. Displayed as a grey, down-facing arrow.
- ループポイント
These control the range where the clip will loop after it reaches the loop end point. Displayed as 2 green arrows.
You can move these markers by clicking and dragging.
空のスペースをクリックしてドラッグすると、再生ヘッドの位置を変更できます。
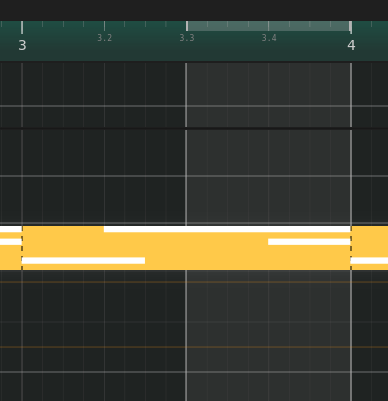
Regions in the Editor Ruler
All regions in the same track as the active region will be shown inside the ruler. The active region will be displayed in a more prominent color.
Regions in the editor ruler