Grabación
Arming Tracks
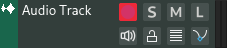
Tracks can be armed for recording by clicking the record button, either inside the track or inside its fader section in the channel or track inspector.
When tracks are armed for recording, they start listening for signals in their Entradas and these signals will be passed along in the processing chain.
For example, if an instrument track is armed for recording and it has a MIDI keyboard connected in its inputs, you will hear sound when you press a key on your MIDI keyboard.
Recording Audio & MIDI
After arming the tracks you want to record events into, enable recording in Controles de transporte and press play. Any signals received will be recorded inside new regions in the timeline.

Recording audio
Entradas
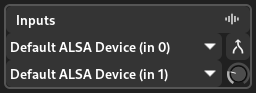
Audio and MIDI/Instrument tracks have an Entradas section in their Inspector Page to adjust inputs for recording.
Track inputs
Recording Settings
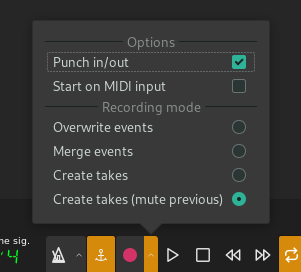
Clicking the arrow next to the record button will bring up the recording settings where various options and recording modes can be selected.
Recording settings
Options
- Punch in/out
Whether to use punch in/out markers. When this is enabled, recording will start when the playhead reaches the punch in marker and stop when the playhead reaches the punch out marker.
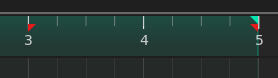
Punch in/out range, indicated by red markers
- Start on MIDI input
Automatically start recording when an event is received from a MIDI device
Recording Modes
- Overwrite events
Overwrite any existing events in the track during recording
- Merge events
Merge the newly recorded events with the existing events in the track
- Create takes
Create a new lane (take) for each new recording
- Create takes (mute previous)
Similar to Create takes but mutes the last recorded take before creating a new one
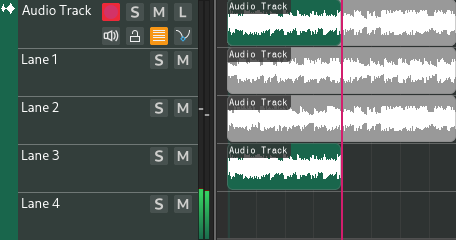
Create takes (mute previous)
Recording Automation
Automation can be recorded in latch mode or touch mode. The mode can be selected and toggled by clicking on it inside automation tracks.
Cierre
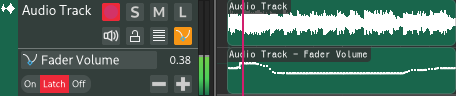
In latch mode, automation will be written constantly and overwrite previous automation.
Toca
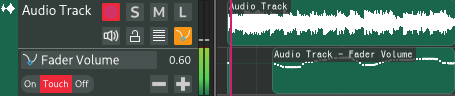
In touch mode, automation will be written only when there are changes. When changes stop being received (after a short amount of time) automation will stop being written until a change is received again. This is useful for making minor changes to existing automation.
Nota
Unlike MIDI/audio recording, automation recording does not require Record to be enabled in the Controles de transporte.