Liña de Tempo
Información xeral
Editing in the timeline is the most common workflow inside Zrythm. The timeline section consists of the tracklist on the left and the ruler/arranger on the right, along with a timeline-specific toolbar at the top.
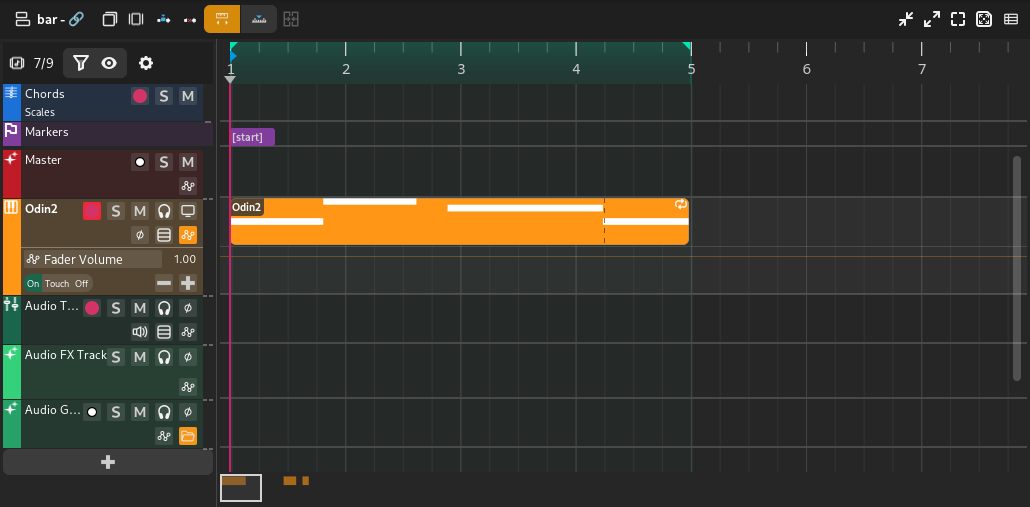
Minimap
The timeline minimap is a little box that represents the current visible area of the timeline. It can be moved around and resized to change the visible area.

Regra
A regra utilízase fundamentalmente para controlar os bucles e a reprodución.

A regra amosará máis ou menos información dependendo do nivel de zoom actual. Tamén amosará os seguintes marcadores/indicadores comentados en Puntos de Bucle.
- Cue point
Displayed as a blue, right-pointing arrow.
- Playhead position
Shown as a grey, down-facing arrow.
- Puntos de bucle
Shown as 2 green arrows, and the area between them is shown in bright green if loop is enabled, or grey if disabled. Can be dragged to reposition.
Tip
Looping can be enabled/disabled using the loop button in the transport controls.
Clicking and dragging on empty space in the bottom half of the ruler will allow you to reposition the playhead.
Tip
You can Control-click and drag the loop region to move it.
Configurando o Punto de Referencia
Fai dobre clic dentro da regra para colocar o punto de referencia. Usarase para volver cando pare a reprodución.
Range Selection
Clicking and dragging in the top half of the ruler will create a range selection. If an existing range exists, you can click an drag it to move it.
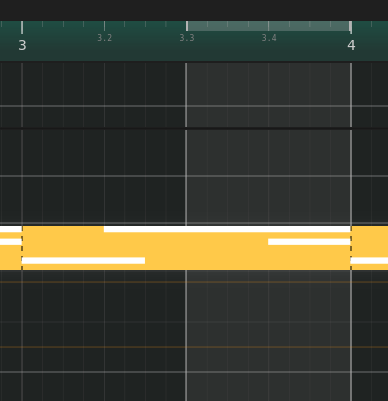
Range selection
Arranxador
The timeline arranger is the main area where the song is composed. It consists of a collection of events, such as regions, positioned against time. Some events (such as regions) will open separate windows for further editing when clicked.
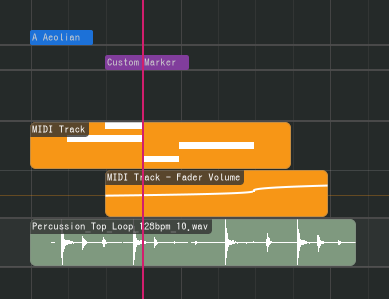
The timeline arranger is split into a top arranger that remains fixed on top and a bottom arranger below it. This way you can pin tracks you want to always be visible at the top.
Obxectos de Xanela.
Na liña de tempo pode haber os seguintes obxectos de xanela.
Rexións
Regions (or clips) are containers for events or data (such as MIDI notes and audio clips - see below) that can be edited in an editor. Regions can be repeated, like below.

Rexión
Existen os seguintes tipos de rexións.
Audio Regions
Audio regions contain audio clips from audio files.
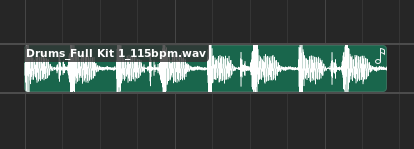
Audio region
Audio regions belong to track lanes and appear inside Audio tracks.

Audio track with audio region
Double-clicking an audio region will bring up the audio editor.
MIDI Regions
MIDI regions contain MIDI notes.
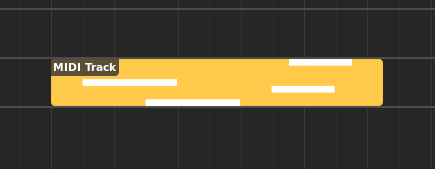
Rexión MIDI
MIDI regions belong to track lanes and appear inside MIDI or Instrument tracks.

MIDI track with MIDI region
Double-clicking a MIDI region will bring up the piano roll.
Automation Regions
Automation regions contain automation events.
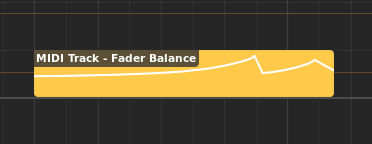
Automation region
Automation regions appear inside automation lanes.

Automation lane with automation region
Double-clicking an automation region will bring up the automation editor.
Chord regions
Chord regions contain sequences of chords.

Chord region
Chord regions appear inside the chord track.

Chord track with chord region
Double-clicking a chord region will bring up the chord editor.
Marcadores
Os marcadores empréganse para indicar o comezo dunha sección dentro da canción, coma Refrán ou Introdución.

Marker
Markers appear inside the marker track.

Marker track with marker
Hai dous marcadores especiais que indican o comezo e o final da canción que se empregan para exportala e non se poden borrar.
Escalas
Scales are used to indicate the start of a section using a specific musical scale.

Scale
Scales appear inside the Chord track.

Chord track with scale
Edición de Rexións
The following operations apply to regions.
Renaming
Regions can be renamed by selecting them and pressing F2.
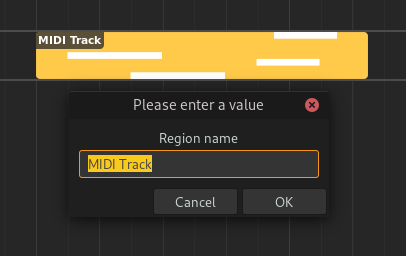
Renaming a region
Adjusting Fades
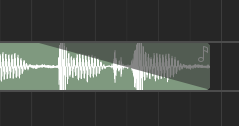
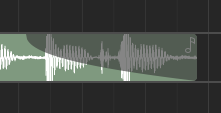
Audio regions can have fades. Fades are gradual increases or decreases in the level of the audio signal, and their positions can be adjusted by clicking and dragging the top left/right corners of the region.
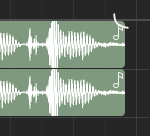
Adjusting fade out point (click & drag)
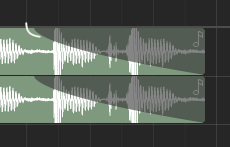
Adjusting fade out point (drop)
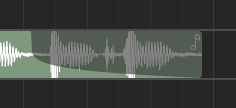
Clicking and dragging the grey part up or down will adjust the curviness of the fade.
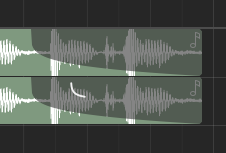
Adjusting curviness
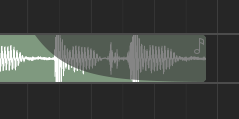
The type of fade algorithm used can also be changed by right-clicking on the fade and selecting .
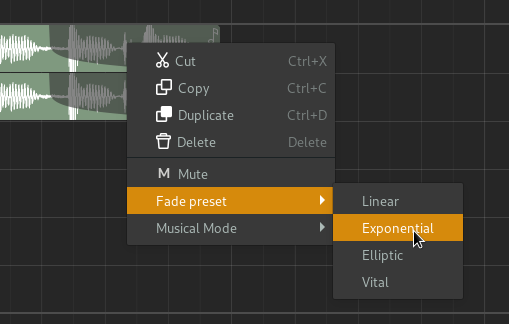
Fade context menu
Fade Types
The various types of fade algorithms available are illustrated below.
Note
All audio regions have some additional, built-in fade in and fade out that cannot be disabled. This is used to avoid clipping and should be unnoticable.
Editing Region Contents
Displaying Region Contents
Cando as rexións están seleccionadas na liña de tempo, os seus contidos amosaranse dentro da lapela Editor no Bottom Panel. De calquera xeito, hai algúns elementos comúns compartidos con cada tipo de editor, a sección do editor cambiará segundo o tipo de rexión seleccionada.

Editor Ruler
The editor ruler is similar to the timeline ruler.

Editor ruler
The ruler will display more or less information depending on the current zoom level. It will also display the following indicators.
Editor Ruler Indicators
- Song Markers
Markers created in the Marker track will be displayed here as read-only.
- Clip Start
Controls the position where the clip will start playback from. Displayed as a red, right-pointing arrow.
- Cabeza de Reprodución
Current position of the playhead. Displayed as a grey, down-facing arrow.
- Puntos de Bucle
These control the range where the clip will loop after it reaches the loop end point. Displayed as 2 green arrows.
You can move these markers by clicking and dragging.
Clicking and dragging on empty space will allow you to reposition the playhead.
Regions in the Editor Ruler
All regions in the same track as the active region will be shown inside the ruler. The active region will be displayed in a more prominent color.

Regions in the editor ruler
