Timeline#
Overview#
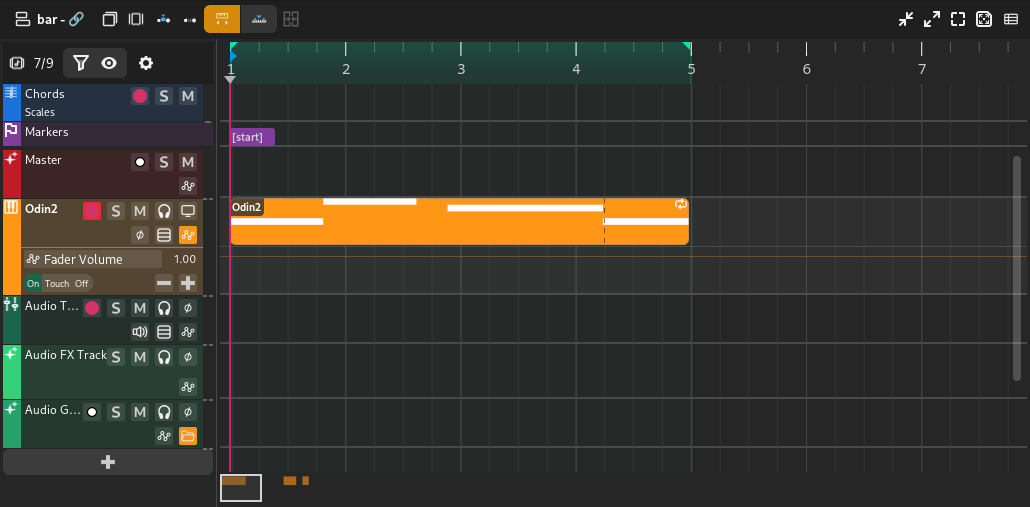
Editing in the timeline is the most common workflow inside Zrythm. The timeline section consists of the tracklist on the left and the ruler/arranger on the right, along with a timeline-specific toolbar at the top.
Minimap#
The timeline minimap is a little box that represents the current visible area of the timeline. It can be moved around and resized to change the visible area.

Ruler#
The ruler is mainly used to control looping and playback.

The ruler will display more or less information depending on the current zoom level. It will also display the following markers/indicators discussed in Loop Points.
- Cue point
Displayed as a blue, right-pointing arrow.
- Playhead position
Shown as a grey, down-facing arrow.
- Loop points
Shown as 2 green arrows, and the area between them is shown in bright green if loop is enabled, or grey if disabled. Can be dragged to reposition.
نکته
Looping can be enabled/disabled using the loop button in the transport controls.
Clicking and dragging on empty space in the bottom half of the ruler will allow you to reposition the playhead.
نکته
You can Control-click and drag the loop region to move it.
Setting the Cue Point#
Double click inside the ruler to set the cue point. This will be used to return to when playback is stopped.
Range Selection#
Clicking and dragging in the top half of the ruler will create a range selection. If an existing range exists, you can click an drag it to move it.
Range selection#
Arranger#
The timeline arranger is the main area where the song is composed. It consists of a collection of events, such as regions, positioned against time. Some events (such as regions) will open separate windows for further editing when clicked.
The timeline arranger is split into a top arranger that remains fixed on top and a bottom arranger below it. This way you can pin tracks you want to always be visible at the top.
Arranger Objects#
The following arranger objects can exist inside the timeline.
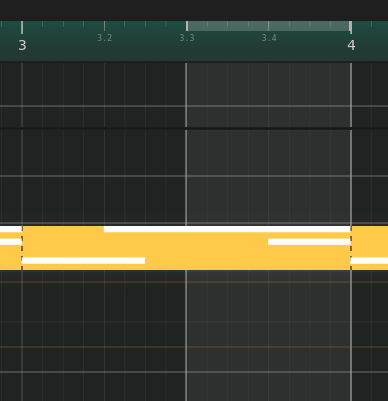
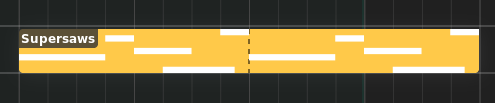
Regions#
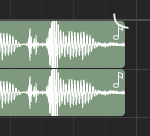
Regions (or clips) are containers for events or data (such as MIDI notes and audio clips - see below) that can be edited in an editor. Regions can be repeated, like below.
Region#
The following types of regions exist.
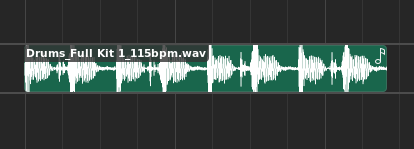
Audio Regions#
Audio regions contain audio clips from audio files.
Audio region#
Audio regions belong to track lanes and appear inside Audio tracks.
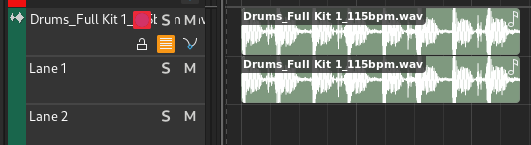
Audio track with audio region#
Double-clicking an audio region will bring up the audio editor.
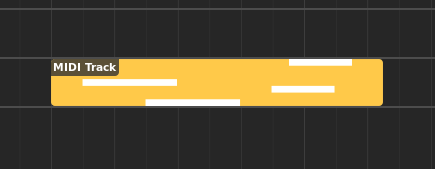
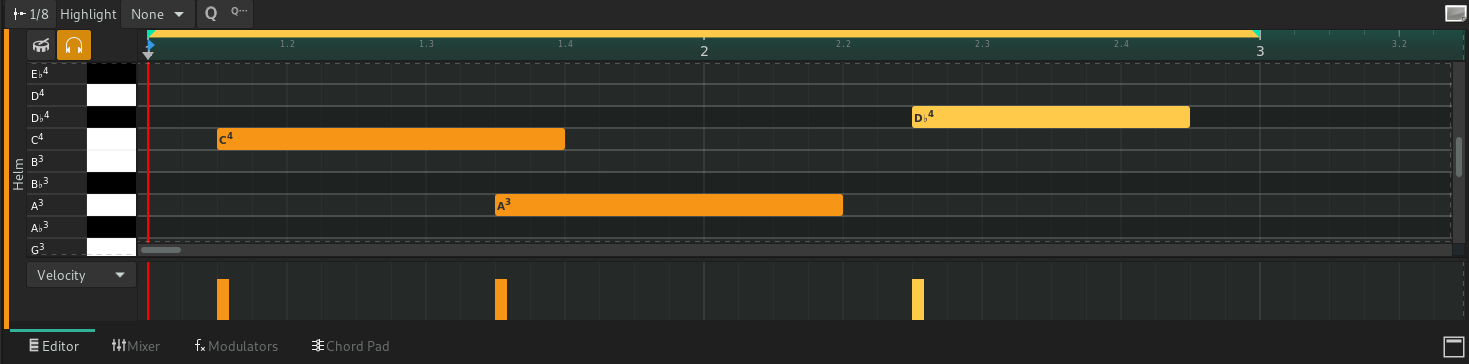
MIDI Regions#
MIDI regions contain MIDI notes.
MIDI region#
MIDI regions belong to track lanes and appear inside MIDI or Instrument tracks.

MIDI track with MIDI region#
Double-clicking a MIDI region will bring up the piano roll.
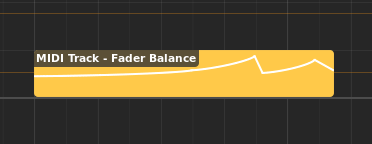
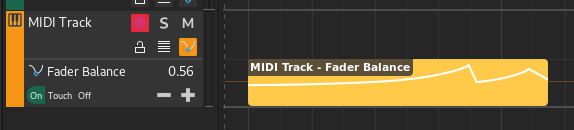
Automation Regions#
Automation regions contain automation events.
Automation region#
Automation regions appear inside automation lanes.
Automation lane with automation region#
Double-clicking an automation region will bring up the automation editor.
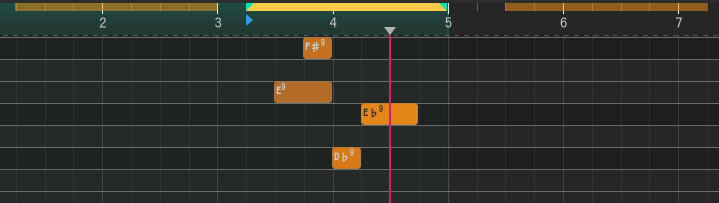
Chord regions#
Chord regions contain sequences of chords.

Chord region#
Chord regions appear inside the chord track.

Chord track with chord region#
Double-clicking a chord region will bring up the chord editor.
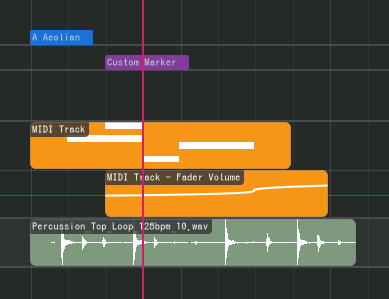
Markers#
Markers are used to mark the start of a logical section inside the song, such as Chorus or Intro.

Marker#
Markers appear inside the marker track.

Marker track with marker#
There are two special markers that signify the start and end of the song that are used for exporting the song and cannot be deleted.
Scales#
Scales are used to indicate the start of a section using a specific musical scale.

Scale#
Scales appear inside the Chord track.

Chord track with scale#
Editing Regions#
The following operations apply to regions.
Renaming#
Regions can be renamed by selecting them and pressing F2.
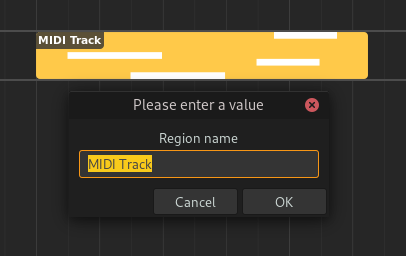
Renaming a region#
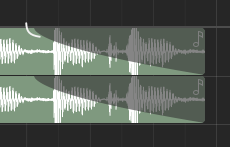
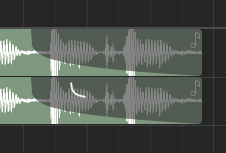
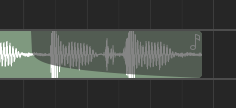
Adjusting Fades#
Audio regions can have fades. Fades are gradual increases or decreases in the level of the audio signal, and their positions can be adjusted by clicking and dragging the top left/right corners of the region.
Adjusting fade out point (click & drag)#
Adjusting fade out point (drop)#
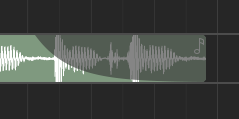
Clicking and dragging the grey part up or down will adjust the curviness of the fade.
Adjusting curviness#
The type of fade algorithm used can also be changed by right-clicking on the fade and selecting .
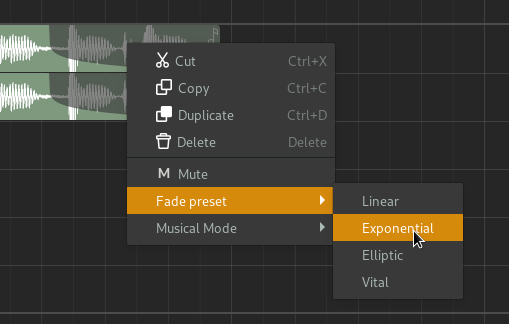
Fade context menu#
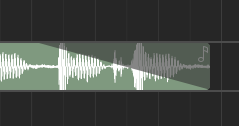
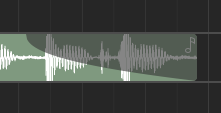
Fade Types#
The various types of fade algorithms available are illustrated below.
توجه
All audio regions have some additional, built-in fade in and fade out that cannot be disabled. This is used to avoid clipping and should be unnoticable.
Editing Region Contents#
Displaying Region Contents#
When regions are selected in the timeline, their contents will be shown inside the Editor tab in the Bottom Panel. Although there are some common elements shared amongst each type of editor, the editor section will differ depending on the type of region selected.
Editor Ruler#
The editor ruler is similar to the timeline ruler.

Editor ruler#
The ruler will display more or less information depending on the current zoom level. It will also display the following indicators.
Editor Ruler Indicators#
- Song Markers
Markers created in the Marker track will be displayed here as read-only.
- Clip Start
Controls the position where the clip will start playback from. Displayed as a red, right-pointing arrow.
- Playhead
Current position of the playhead. Displayed as a grey, down-facing arrow.
- Loop Points
These control the range where the clip will loop after it reaches the loop end point. Displayed as 2 green arrows.
You can move these markers by clicking and dragging.
Clicking and dragging on empty space will allow you to reposition the playhead.
Regions in the Editor Ruler#
All regions in the same track as the active region will be shown inside the ruler. The active region will be displayed in a more prominent color.
Regions in the editor ruler#